Clarity Enhancement – Before & After Photos

Lets take a look at a diamond enhancement process called clarity enhancement (CE).  The process can be applied to diamonds that have surface reaching feathers.  Feathers are visible due to air being contained within the feather so they appear to be white and contract against the body of the diamond.

By adding a chemical filler the feathers can be made to less obvious, increasing the apparent clarity of a diamond.  Unlike the process of laser drilling, clarity enhancement (CE) is not permanent.  The filling can be removed on purpose or accidentally if exposed to high heat or strong solvents.

Most major diamond labs will not grade CE diamonds because the process is not permanent.

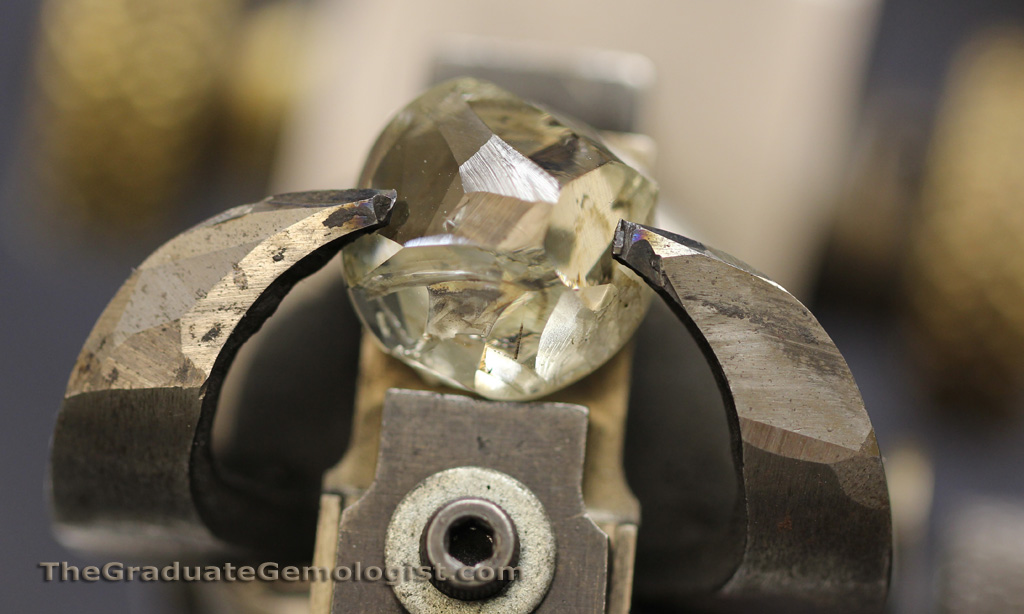
Here is a photo of a radiant cut diamond, it has a few surface reaching feathers including a fairly large one under the table.  The diamond’s appearance should improve if we have it clarity enhanced..

Before Clarity Enhancement

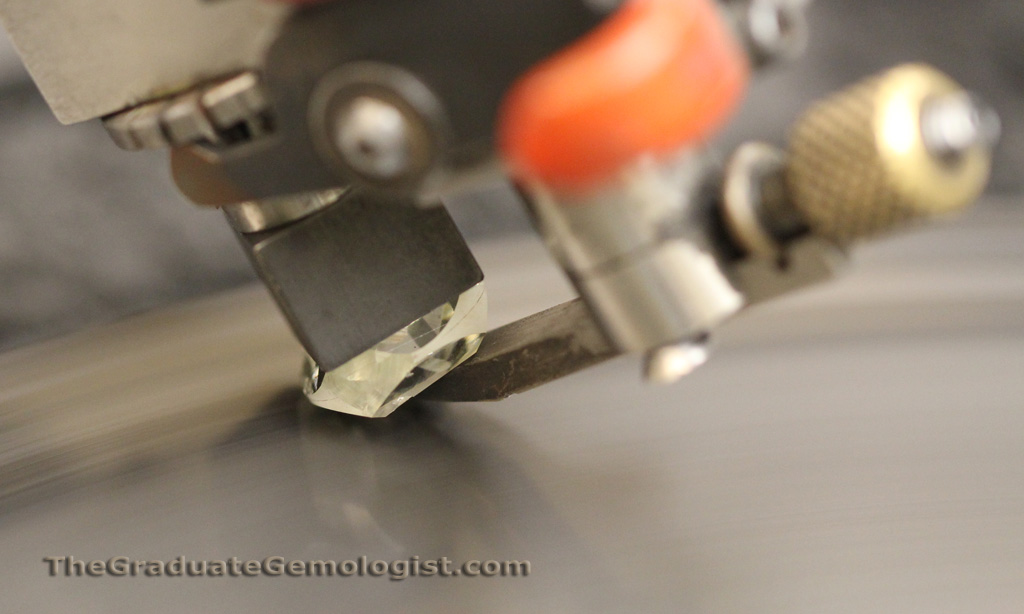
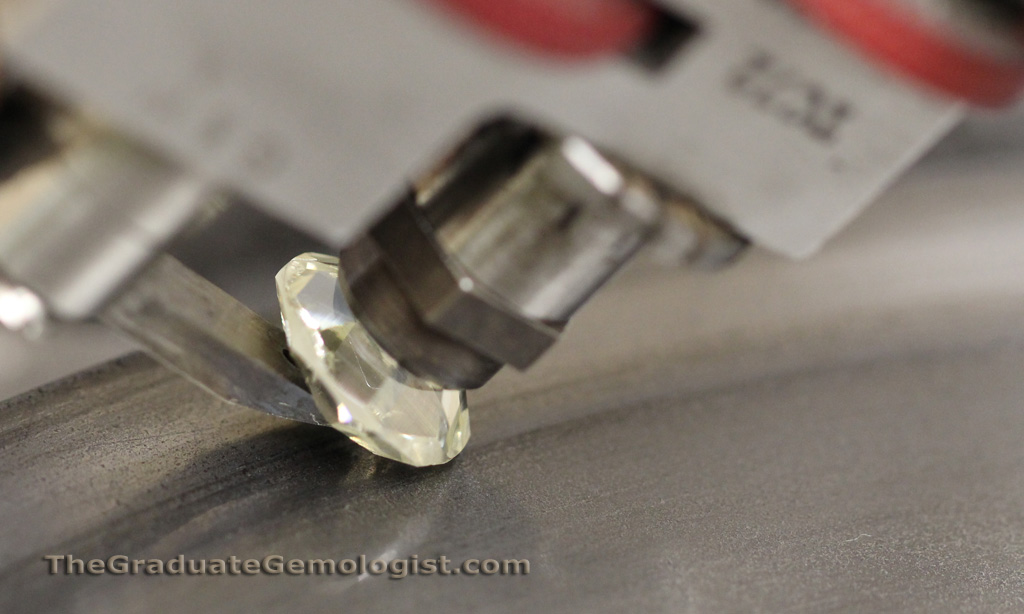
Zooming forward a couple of weeks we have received the diamond back from the treatment facility.

After treatment you can see there is some reduction to the large feather under the table and reduction in appearance to a feather at about 11 o’clock position.  The inclusions are not gone, they are just made a little less obvious.  Overall I would say this diamond did not respond very well to the treatment, but it totally depends on the inclusions themselves how well they filler goes into the feathers.
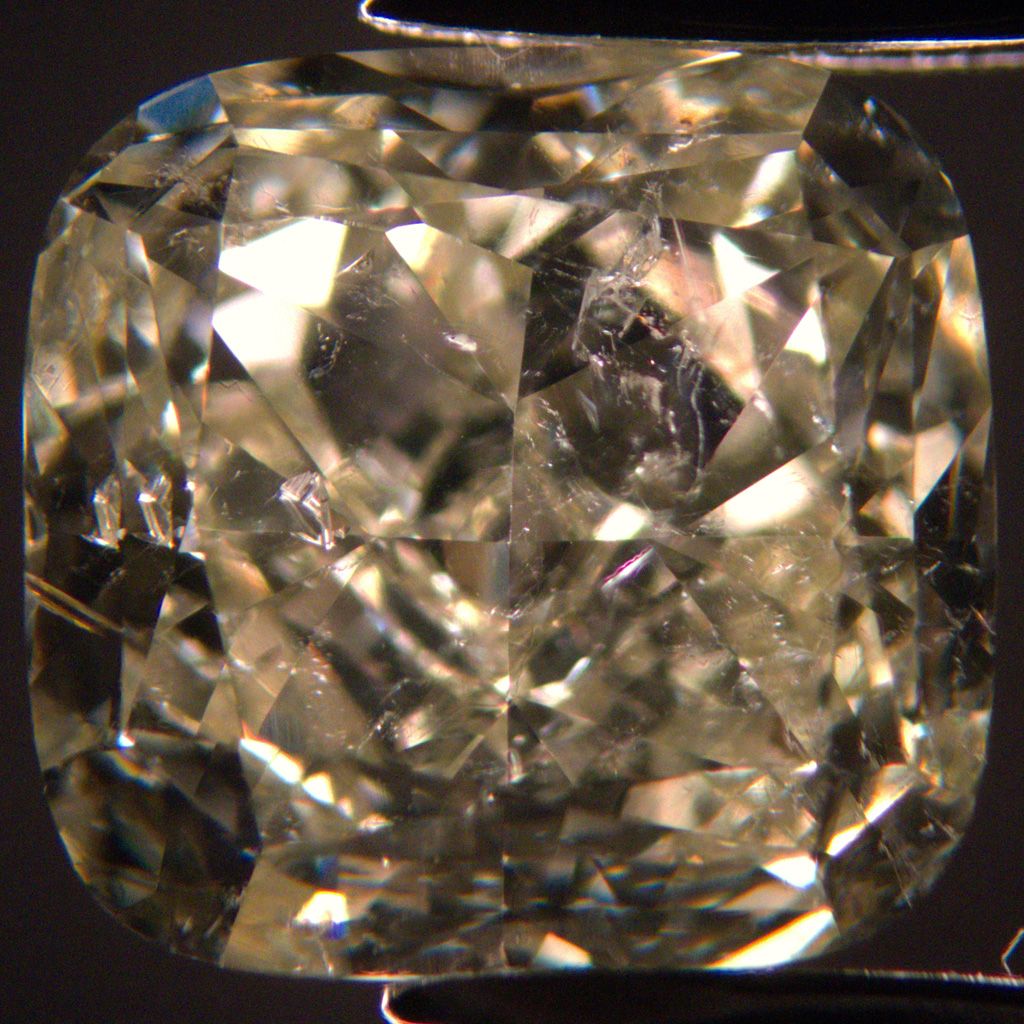
After Clarity Enhancement

Disclosure & Detection of Clarity Enhancement

Any diamond that has been clarity enhanced must have the treatment disclosed to a potential buyer of the stone.  Customers need to be made aware of what they are buying as well as being informed of how to take care of their CE diamonds.

The filler used in the diamond treatment process gives off flashes of color.  When viewed under a loupe or microscope you can see flashes of color (often blue & purple) when the diamond is tilted.
Initial facets

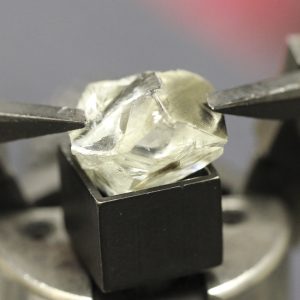
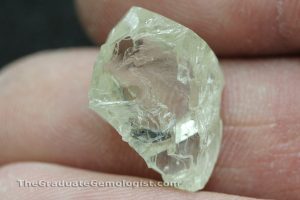
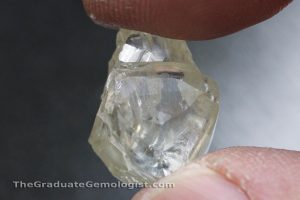
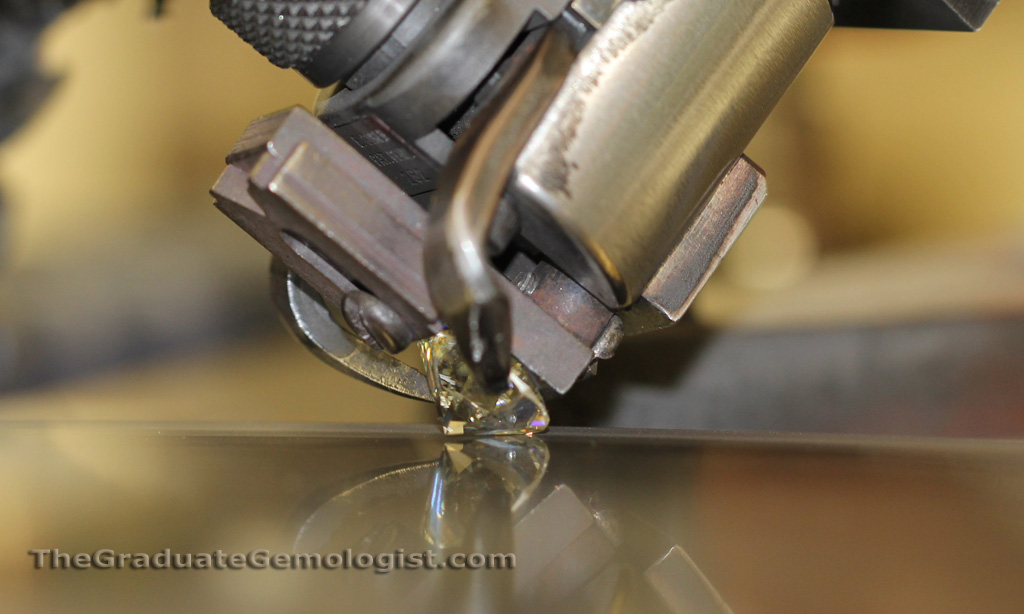
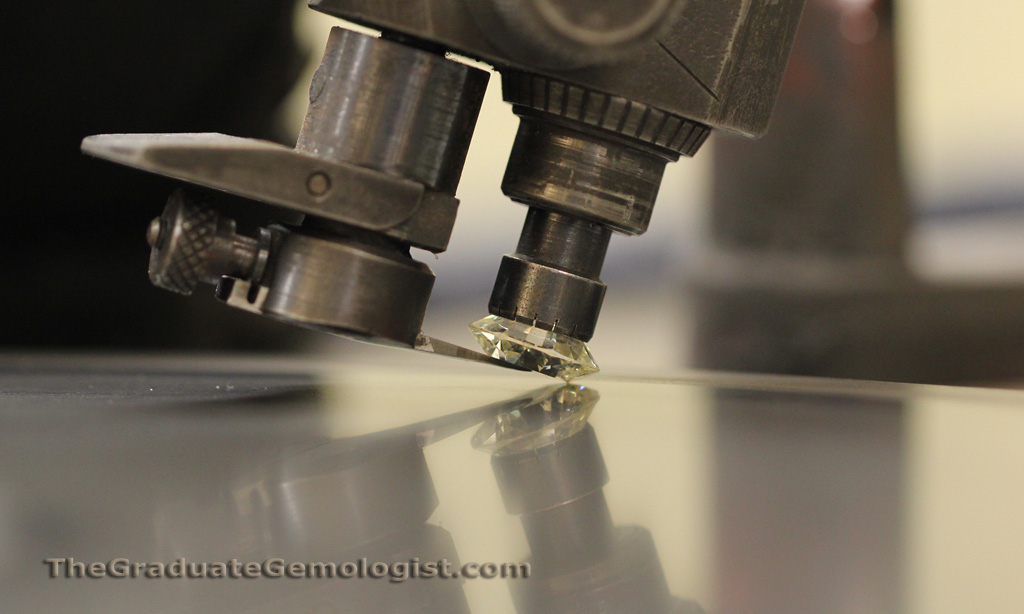
With the bruting completed the diamond now has the rough outline – a round diamond.  This shot the diamond is being positioned to remove a feather (inclusion) in the diamond.  It can be seen on the diamond at the 7:00 position.

Blocking out the main 4 facets on the crown of the diamond, the process takes several days.


Now blocking out in between the 4 mains, the bezel facets to make the finished 8.

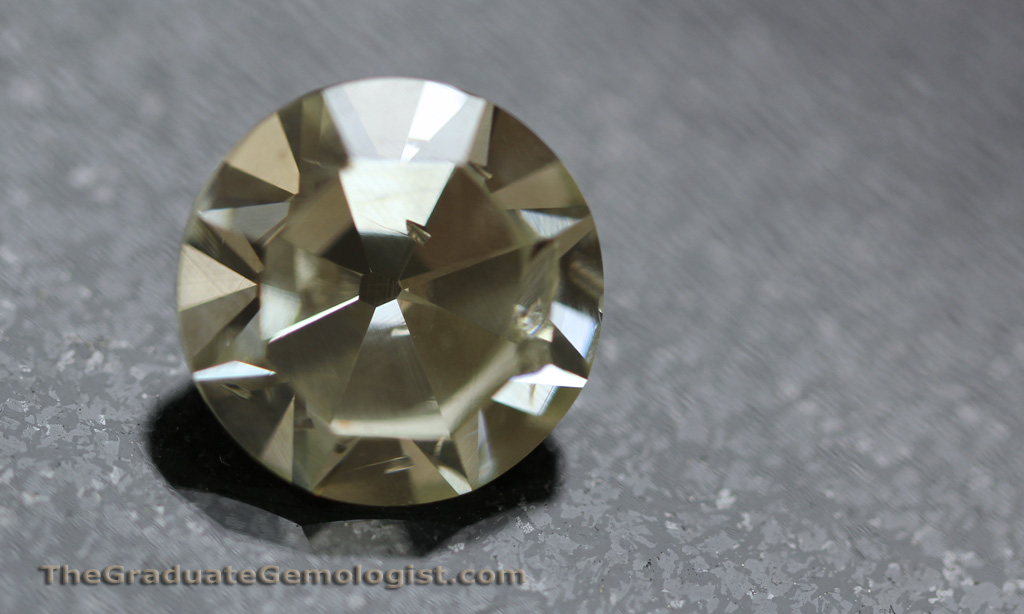
While not yet complete it is starting to look like a polished diamond.  At this point the diamond is called a single cut, which was done to show the inclusions inside to determine which way the diamond would have been best finished.  If the inclusions were left as shown in the photo the end result would have been an 8+ carat diamond.

A Diamond In Need Of Help – Part 1

Fair Cut Diamond ReportThis diamond needs some help, serious help!  The diamond is heading out to the cutter, which will be able to correct some of the diamond’s problems.  Here are the specs right now:

Measurements: 7.53 – 7.74 x 4.32
Carat Weight: 1.56
Color Grade: M
Clarity Grade: VS2
Cut Grade: Fair

Polish: Very Good
Symmetry: Fair

Depth: 56.6%
Table: 70%

WOW!

Based on those numbers we can see several problems:

  1. The diamond is not round, the photo shows two points on the edge with dents.  Overall the diamond is just not round.
  2. Depth of 56.6% is much too shallow, normally we like to see round diamonds in the range of 59% – 63%.
  3. Table of 70%, a massive number for a diamond table.  It is rare to find diamonds with such a large table, not salable in today’s market.

When you get a combination of a shallow depth and a large table you get something known as fisheye.  Fisheye appears as a ring under the table facet, it is actually a reflection of the diamond girdle and it is not attractive.  The more the diamond tilts the more the fisheye can be seen.  It is seen above from the 4 o’clock position through the 7 o’clock position as a white area.

To fix this diamond it needs to be made more round and have the table size brought down.  With that recutting the diamond will be quite beautiful.

The problem is the ‘cost’ to have the diamond recut, in terms of weight loss it is going to be expensive.  If we calculate the estimated recut weight based on our diamond recut chart, the end result will probably be in the range of 1.17ct.

The value difference for a 1.55ct vs. a 1.17ct is quite a bit, the good news is I suspect the clarity will probably jump up to VS1…  Off to the cutter, it will take about 6 weeks to get the results back from the GIA about the diamond’s new look so stay tuned for part 2.

Update: The diamond has been returned from the cutter and is now a GIA Excellent cut, see part 2 for an update on this diamond.

Roughing out the girdle

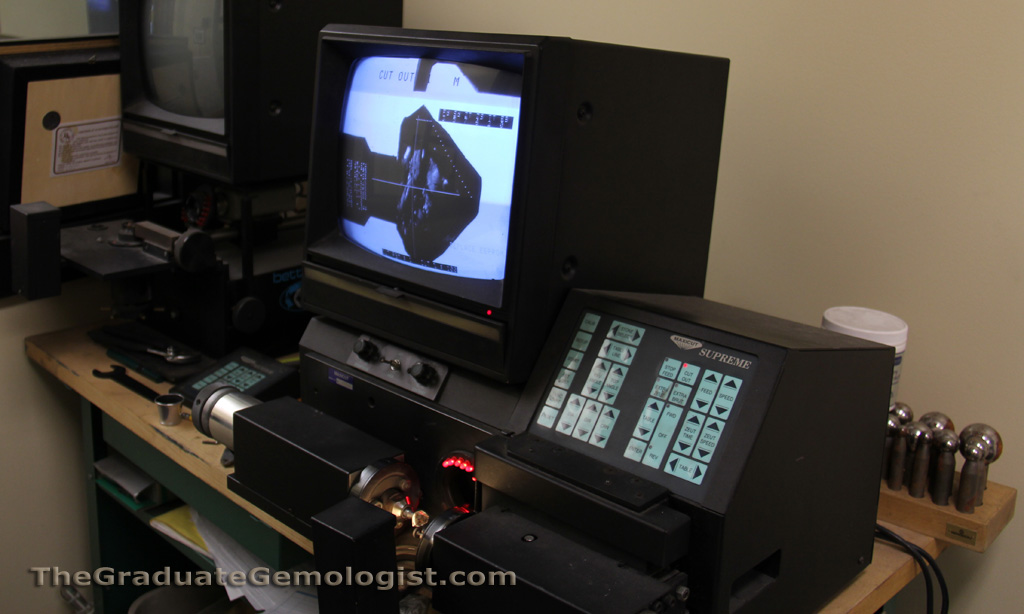
Bruting a diamond is the process of grinding two diamonds against each other.  Here we can see the diamond cutter’s bruting machine which is being used to make the diamond round.

Since only diamond can cut diamond the flat disk on the bottom is diamond powder that has been compressed and glued together.  Both the diamond disk and the diamond being bruted are glued onto a bruting dop and heated.  The glue hold them in place – that is some serious glue!

Facetting the table

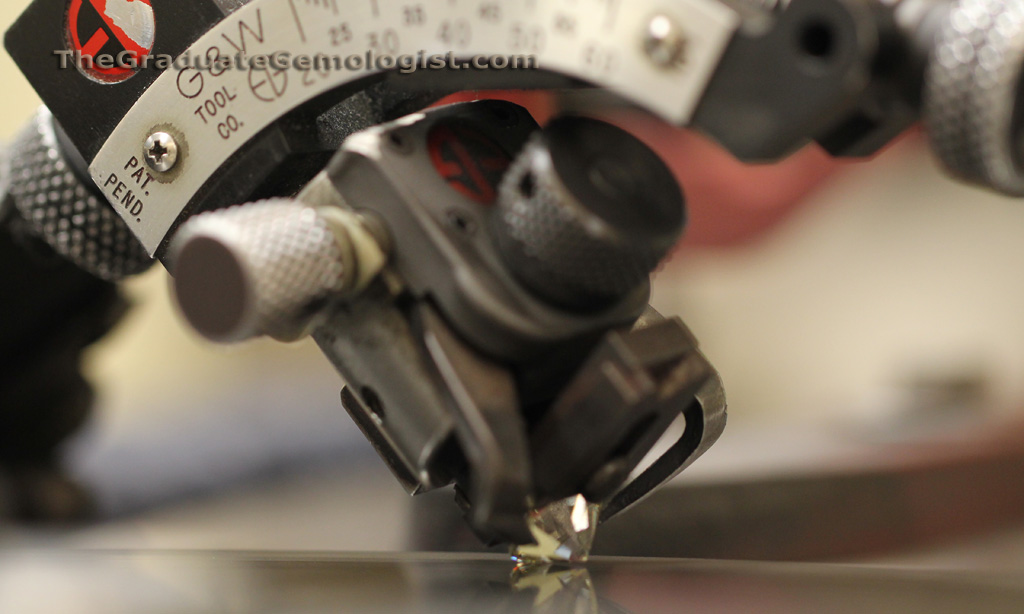
Next up the diamond cutter is getting ready to polish the first facet on the diamond… the table facet.  Polishing is done on a charged diamond wheel, the diamond is held in a dop, placed in a tang and carefully polished.

With the diamond secured polishing on the wheel can begin.

Finally, after weeks of analyzing the diamond, polishing windows and laser cutting… the cutter can finally get the start the first facet.  The table facet starts to come to life, still tough to tell what the final shape will be though isn’t it???   😉

A diamond is made out of pure carbon (the same material as in your pencil – the only difference is the bonding).  Unlike a led pencil which is very soft, only a diamond can cut a diamond.  The cutting/polishing wheel is charged with diamond dust, after polishing you can see a lot of black ‘stuff’ next to the polished section.  That ‘stuff’ is the carbon that was removed during the polishing process.

Laser cut

The next step in the process for this diamond is to have it laser cut.  The shape of the rough and any inclusions determine where the diamond will be cut.

In preparation for the laser cut a few things needed to be done.  The rough diamond had an inclusion right below the surface, so it was fairly easy to remove.  The diamond was polished down to get rid of the inclusion, reduce some stress on the stone and provide a better view into the heart of the diamond.

Looking through the frosted rough diamond can only tell you so much about any inclusions inside.  Imagine looking in your bathroom mirror after you get out of the shower, it is all steamed up and you can’t see.  With a facet on the diamond the cutter will have a clear window that lets him see deep inside.

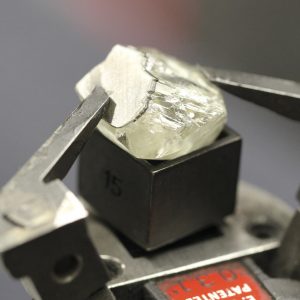
A black line is drawn on the diamond with a very fine maker to indicate where it should be cut.  You can see the black line on the diamond in the photo below.  With the cutting line marked the diamond was cut in half with a laser saw.

The small piece on the left side is 4.26ct and larger piece comes in at 18.17ct (some weight was lost when polishing the window).

With the work performed so far we are down to 18.17ct so we have lost 5.69ct from the large piece of rough.  A lot more of the precious diamond will be lost at it is transformed into a blazing ball of light…  more photos to come…

Improving Cut – 1.15ct Diamond

I recently did a couple of postings about diamond cut and posted a diamond recut chart that can be used to give an estimate of how much weight would be lost to improve diamond cut.

Lets take a look at a real example on a stone.  When purchased the stone was nice, but a little deep.

Prior to being recut it was 1.15ct so there was room to improve it without going below 1.00ct, which wold be a bad financial move.

Specs Before Recut

Carat: 1.15ct
Measurements: 6.59 – 6.65 x 4.26
Pavilon Depth: 64.4%
Table: 57%
Girdle: Medium – Slightly Thick, polished
Culet: None
Polish: Very Good
Symmetry: Very Good
Cut Grade: Very Good

The cut grade on the above stone would have very good, excellent would not be possible because of the depth being 64.4%.

Off to the cutter it went for a little tune-up.

Specs After Recut

Carat: 1.10ct
Measurements: 6.59 – 6.64 x 4.12
Pavilion Depth: 62.2%
Table: 55%
Girdle: Thin to Medium, Faceted
Culet: Very Small
Polish: Excellent
Symmetry: Very Good
Cut Grade: Excellent

The angle of the pavilion would need to be increased in order to give the stone less depth, resulting in a more impressive stone.  When reducing depth you do not change the diameter of the diamond much.  On this diamond there was no change in the face up size.

The final weight loss was about 4.34%, according to the diamond recut chart we should have lost about 4% going from a depth of 64.4% down to 62.2% so the chart was right on.

Diamond Recut Chart – Improving Cut Grades

Since the GIA released their cut grade system in 2006 people have become obsessed with diamond cut.  Of course there are still plenty of diamonds that were cut before grades were established.

There can be some very interesting cut diamonds out there.  People can sell their diamonds @ http://www.diamonds2cash.com, when we buy diamonds that are badly cut by today’s standards we have to recut them to make them salable.

The following chart can be used to provide a rough estimate of the weight loss required to ‘fix’ a diamond’s cut.   Recutting the diamond is not always so simple, such as if there are large naturals or inclusions but for a quick calculation on the fly, the following data can be used to estimate the final weight of a modern round brilliant diamond.

Diamond Recut Chart

Depth Percentage Deduction Table Percentage Deduction
50.0 – 51.9 22%  43.0 – 45.9  8%
52.0 – 53.9 20%  46.0 – 48.9  6%
54.0 – 54.9  16%  49.0 – 52.9  4%
55.0 – 56.9 12%  53.0 – 53.9  3%
 57.0 – 57.9  8% 54.0 – 54.9 2%
 58.0 – 58.9  6%  55.0 – 56.0 0%
 59.0 – 59.9  4%  56.1 – 58.0  2%
60.0 – 60.9  2%  58.1 – 60.0  3%
 61.0 – 62.0  0%  60.1 – 63.0  4%
 62.1 – 63.0  2%  63.1 – 65.0 6%
 63.1 – 64.0 4%  65.1 – 67.0 8%
64.1 – 65.0 6%  67.1 – 69.0  10%
65.1 – 66.0  8%  69.1 – 73.0  12%
66.1 – 67.0 12%
 67.1 – 68.0 16%
 68.1 – 69.0 18%
69.1 – 70.0  20%


Diamonds with a table between 52% – 62% have the potential to fall within GIA’s top cut grade (excellent) but it depends on a number of factors.  Diamonds with a table size outside that range would need to be recut for sure in order to obtain an excellent cut grade.


How big is big?

How about a 23.86ct diamond?

Most people consider a 1ct diamond to be big, a target size for millions of diamond lovers around the world.  A 2ct diamond, getting bigger… a 3ct diamond or larger and eyes start popping.


Not what you are used to seeing?  That is a rough diamond, it is currently being cut (January 2012) and we are going to be following this diamond as it is worked on the diamond wheel and brought to life.  Will it end up being round, princess cut, oval???  Currently only the cutter knows how this one is going to end up.

23.86ct Diamond In The Rough

Stay tuned for more posts on this little guy and hopefully we can learn a thing or two from the diamond cutter about diamond cutting along the way.